
Lou: toy box, Republic transmitter and difficulty-based demands
Return Lou's box, choose a gift, use the Republic transmitter and resolve her demands. Check difficulty amounts and payment thresholds.
1.0
Version history
- 1.0 Main guide
Add the Rev13 locker-count fix and its application to existing saves.
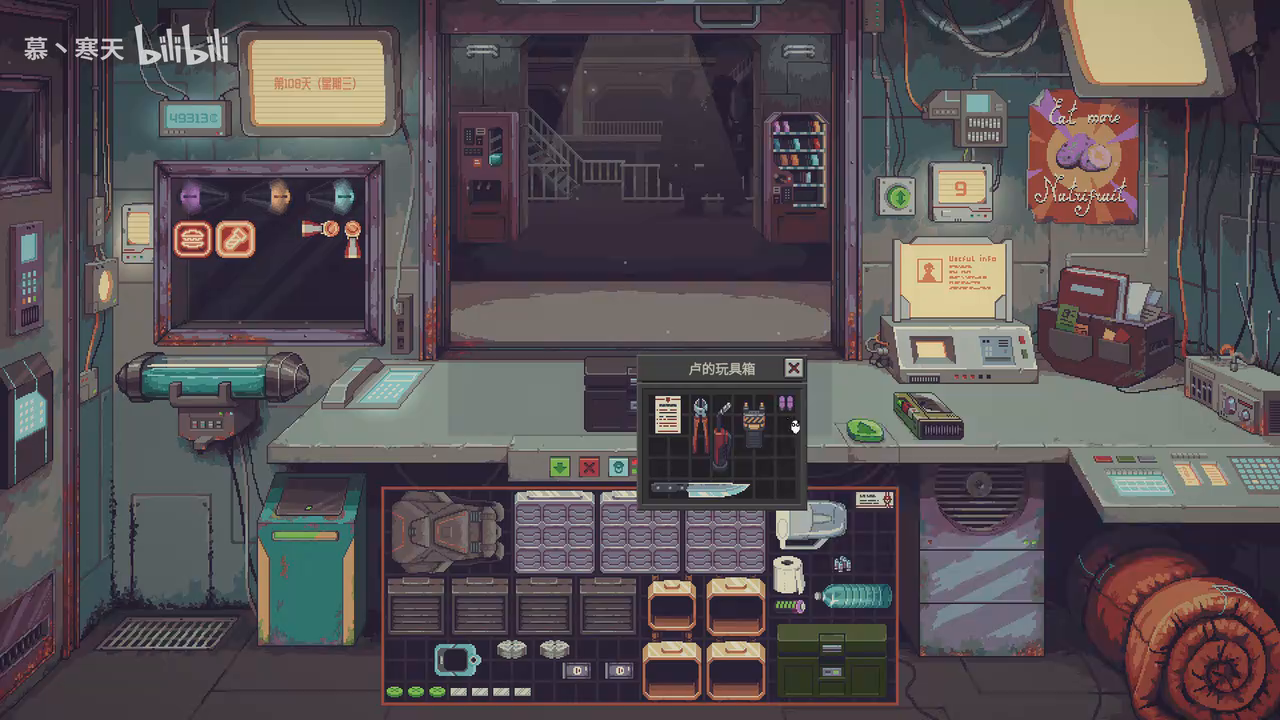
This page covers the default Steam release after the 1.0.0.12 update and contains story spoilers. The game pictures below were recorded before this update; they identify the box and disguise, while the current choices and amounts are explained here.
Identity and the first visit

Lou calls you her little Nutrifruit and buys weapons and tools to make a reluctant “guest” talk.
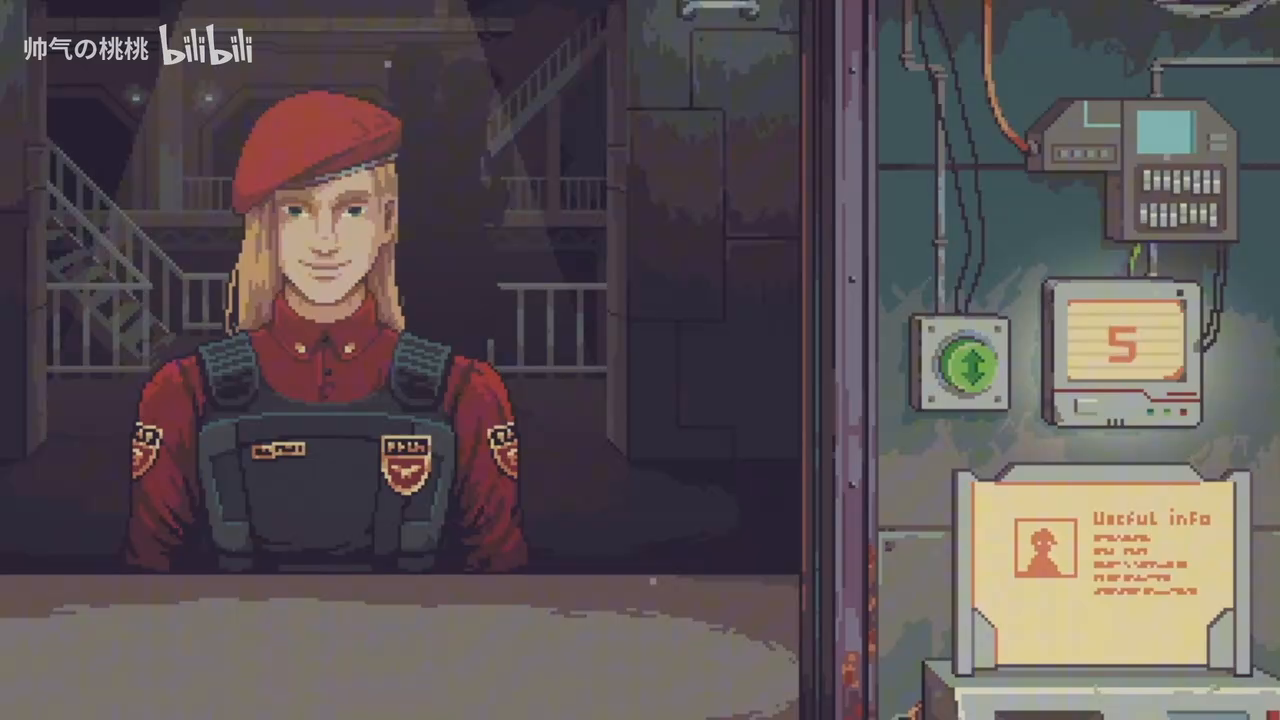
Lou and Officer Lun are different people. Use the wanted list to compare her portrait and report her. Lun has a separate character page.
| Relationship | Details |
|---|---|
| Entry type | Named character |
| Identity | Wanted criminal, fifth on the list, with a base bounty of 1,500 credits. |
| Visitor faction | Black Market |
After you obtain the business permit, checks for Lou’s first visit begin the following morning. She can arrive early if cash is below 75 credits, or rent or a mortgage payment is due and unaffordable. Otherwise her visit is scheduled after 14 eligible days. The check uses the morning’s state; spending your cash during the day does not immediately summon her.
At the first meeting, she buys melee weapons, a  Plasma Cutter and a
 Screwdriver, preferring variety. Her base purchasing budget is 250 credits, with normal customer-budget bonuses applying. The types of items she actually buys influence her later toy box.
Reporting her pays a bounty under the normal bounty-payment rules and does not reduce Black Market reputation. The following story starts with that arrest. Simply trading with her without reporting her does not start the post-arrest sequence.
The post-arrest sequence
| Stage | Earliest eligibility | Your task |
|---|---|---|
| Morning intimidation | 3 days after arrest | Finish the conversation; she says she will contact you again. |
| Hidden bomb and warning | 2 days after that morning visit | Check your containers and loose shop items. |
| Toy-box drop-off | 4 days after the bomb-warning visit | Make room and keep the box with its original contents. |
| Toy-box collection | 1 day after drop-off | Return all original items before advancing her collection dialogue. |
| Security disguise | 4 days after safe collection | Recognize her and prepare for the demand. |
| Weapons, ammunition and medical supplies | 7 days after the disguised visit | Hand over goods and settle the remaining value. |
Later stages count from the actual preceding visit, rather than a fixed day since the start of the run. Another important morning visitor can delay the intimidation visit.
Finding the hidden bomb
Lou says a  armed plastic explosive hidden among your belongings will detonate at midnight. Open your owned bags, boxes and containers nested inside them, starting with the deepest containers. If it cannot fit in a container, it is placed in the shop. Machines are not hiding places for this event.
Double-click the owned explosive to disarm it. Its name changes to the fake explosive. This is a prank: an unattended one also disarms overnight and does not cause an ending. The real explosions for missing box contents or a failed demand resolve through later story events and cannot be handled like this fake bomb.
Keeping the toy box safe
She leaves  Lou’s Box of Toys in your care. It uses an Evidence Locker’s appearance. Keep both the box
and all original items inside it until collection. She notices if you open it, but looking inside
alone does not cause an explosion.
Ordinary goods you put inside Lou’s toy box or locker are protected from normal overnight theft while they remain inside. Lottery tickets and old tickets have a separate recovery rule and should not be treated as protected storage there.
It contains  Old Republic Orders and tools or weapons based on the types she bought at the first meeting. If she bought nothing, the default selection is a Wire Cutter, a Plasma Cutter, a Tazer and a Kitchen Knife, plus the orders. Only items that actually fit are counted.
| State at collection | Result |
|---|---|
| Unopened, all original items present | She takes it back and the story continues. |
| Opened, all original items present | She teases you for peeking; the story still continues. |
| An original item is missing, or the box is lost | She leaves a real bomb, causing the Bombed ending. |
You can return an original item you took out before collection. Buying another of the same type does not replace it. The old orders count too. Sort out the box before continuing the dialogue in which she takes it back.
After returning the box safely, choose one free reward: an Advanced Turbo Booster, a Smuggler’s Bay, a Small Backpack, or two Module Bay Expansion Kits. The reward items are shabby. Finish the reward trade before leaving the conversation.
Recognizing the visitor in uniform

She introduces herself as a Security inspector. Accepting the inspection or trying to dismiss her reveals Lou and starts a demand for weapons, ammunition and medical supplies seven days later. The amount depends on difficulty, as listed below.
This scene does not perform a normal inventory inspection. Lou can now be shot during her visits, but she survives and starts the locker route below.
Pay with goods and cash
| Difficulty | Full demand | Minimum goods plus cash to survive | Locker payment after shooting |
|---|---|---|---|
| Cozy | 500 | 250 | 250 |
| Normal | 750 | 375 | 375 |
| Hard | 1,000 | 500 | 500 |
| Challenge | 1,500 | 750 | 750 |
- Put weapons, firearms, melee weapons, ammunition or medical items on the counter and finish the donation trade. She receives the goods without paying you.
- Use the accepted value and her remaining-value dialogue. Providing the full demand completes the donation without a cash top-up.
- With fewer goods, choose “That’s all I have” or dismiss her to settle. She takes cash up to the unpaid amount. If accepted goods plus available cash are below the table’s minimum, this triggers a real, fatal bomb. Reaching the minimum lets you survive even if the full demand is not met.
On Normal, 300 in accepted goods plus 75 cash reaches 375 and survives; 300 plus 74 does not. If you have enough cash to cover the rest of the full 750, she takes that remainder. Two days after a successful settlement, a thank-you note and a shabby Storage Bay Expansion Kit can arrive.
Hide the Republic transmitter to capture Lou
After reporting or shooting Lou, finish the Republic Operative’s conversation and take the Republic Transmitter. For the arrest route, hide it inside the toy box before her collection dialogue. Return the box as described above. The transmitter is used when she takes the box, her later games stop, and the operative returns on a later day with 750 credits.
Keep the transmitter off the counters while Lou is present unless you want to reveal the operation. Placing it directly on either counter, including the rear counter area, starts her confrontation instead of hiding it.
Shooting her starts a three-night locker demand
Lou survives the shot and leaves. The following morning she leaves a round engraved with your name. The operative offers 750 credits in advance on this route, as well as the transmitter; capture brings another 750.
Three days after the shot, Lou leaves a 10×7 locker and a note. Keep room on the front counter for both. You have three nights to resolve it:
- To capture her, put the transmitter inside the locker and leave the locker directly on the front counter when closing. The transmitter works without meeting the goods-value requirement.
- To pay her instead, fill it to the locker amount in the table. Check its value and nights-left tooltip, then leave it directly on the front counter when closing. Any goods counted by that tooltip can contribute. Two days after payment, a shabby Storage Bay Expansion Kit and note can arrive.
The locker is taken that night. Handing in an underfilled locker without a transmitter fails immediately; leaving the demand unresolved for all three nights also causes the debt-bomb ending. Keeping it in a bag or on another surface does not hand it over.
100-Rev13 fixes items in Lou’s locker being missed by the count and causing an incorrect explosion; the fix also applies to existing saves.
Show her the transmitter and choose a side
If you show the transmitter directly on a counter, Lou asks for weapons, ammunition and medical goods worth 500 credits, regardless of difficulty. Complete donations, then use “That’s all I have” to see the cash shortfall. You can explicitly pay the rest or decline.
Meeting 500 supports her ambush: the next day brings warehouse-shootout news and her shabby Storage Bay Expansion Kit. With less support, the operative instead returns after the failed ambush, pays 750 and lowers Security reputation by 12. This is a different branch from leaving the transmitter hidden for a quiet capture.
What the orders and newspaper reveal
The old Republic orders address Lou as the emergency-response squad leader. They order her to trigger the research vessel Icarus’s self-destruct, sabotage its escape pods and prevent other survivors from escaping with her squad. The document adds to her background; return it with the box after reading it.
After you safely settle the demand, the next day is scheduled to carry news of a visiting high admiral’s assassination. The report describes a blonde woman in a stolen Security uniform attacking the admiral and guards, then escaping. For other routes and continued play, use all endings.
Related Articles
Guides
Dream Dust and Nightmare Dust: mushrooms, extraction and sales
Grow or buy the right mushrooms, measure alcohol, extract at 45°C, dry and finish both dusts, then choose buyers and uses in Probably Stolen.
Guides
Probably Stolen: all endings and how to trigger them
Find all 16 ending results in Probably Stolen: buyout, faction attacks, Lou, arrest, Sentinel Collapse and Meltdown, with triggers and continuation rules.
Guides
Nomore production: extract, reaction and injector
Measure ingredients, control the reaction, remove leftover reagents and finish the product.
Was this helpful?
Thanks for the feedback!